
I live in a compact space, and initially, I thought gardening just wasn’t practical for me. But once I started using vertical space-walls, railings, and corners-I saw how much was actually possible.
What I love about vertical gardening is that it doesn’t just save space-it also adds a fresh, lively feel to your home. Over time, I tried different setups, some worked better than others, and these are the ones that truly made a difference for me.
Table of Contents
- Start with a Simple Wall Planter Setup
- Use Hanging Pots for Flexibility
- Try a Vertical Wooden Frame Garden
- Use Railing Planters for Balconies
- Create a DIY Bottle Garden
- Install a Metal Grid for Climbing Plants
- Use Ladder-Style Plant Stands
- Add Wall-Mounted Shelves for Plants
- Try Pocket Fabric Planters
- Use Corner Vertical Setups
- Combine Plants with Decor Elements
- Keep It Light and Minimal
- Maintain and Adjust Over Time
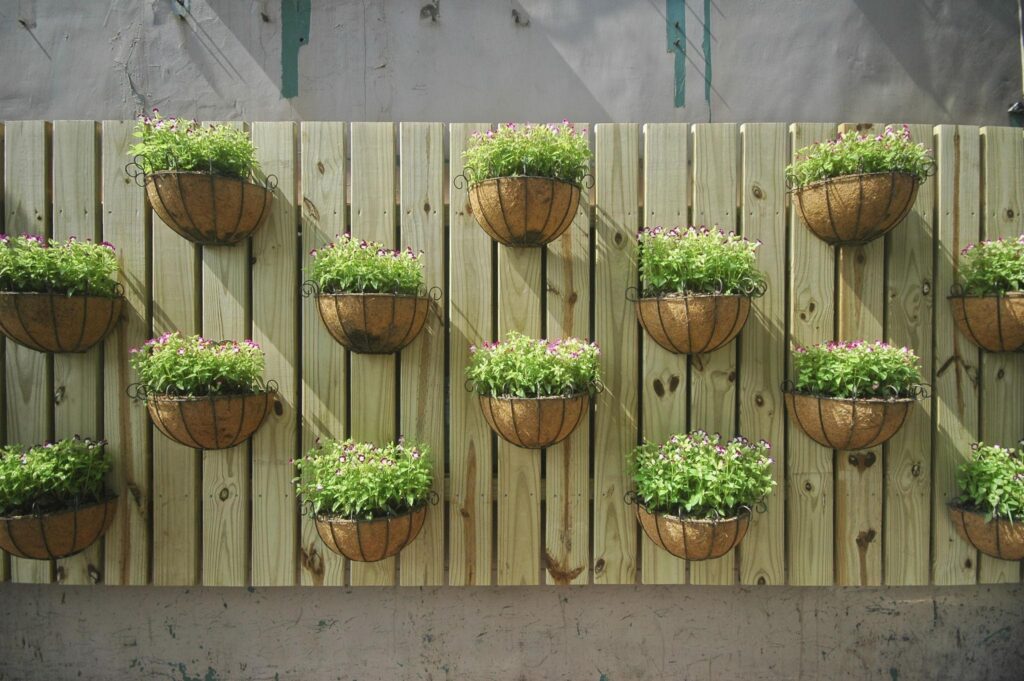
1. Start with a Simple Wall Planter Setup

This was the first thing I tried.
I mounted a few planters directly on the wall, and it instantly gave me more space. It’s simple, doesn’t require much effort, and works well even in small rooms.
I used simple wall planters like this (wall mounted planters) and it saved a lot of space.
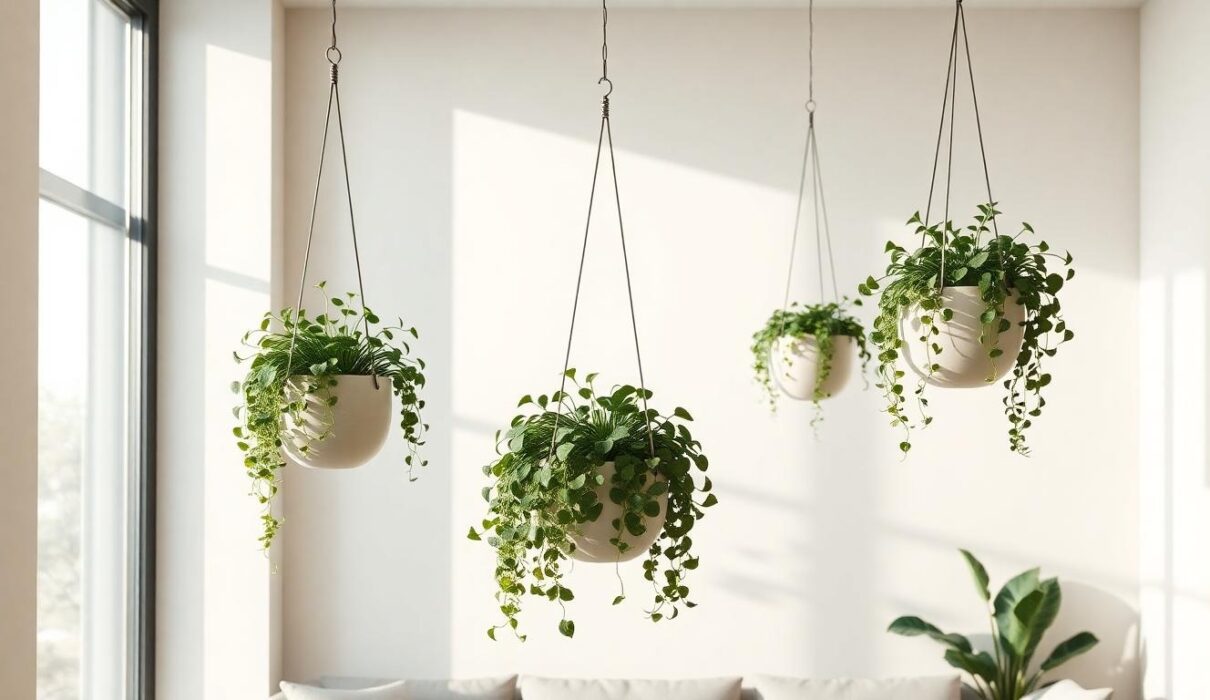
2. Use Hanging Pots for Flexibility
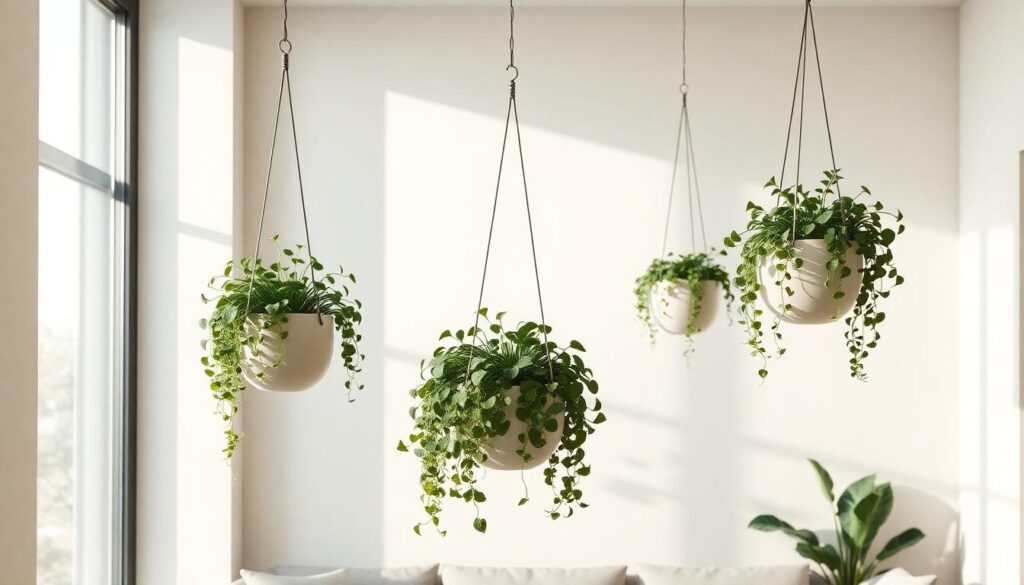
Hanging pots made things feel more dynamic.
I used hooks to hang small pots near my window. The best part is that you can easily move them around depending on sunlight.
I used simple wall planters like this (Hanging pots) and it saved a lot of space.
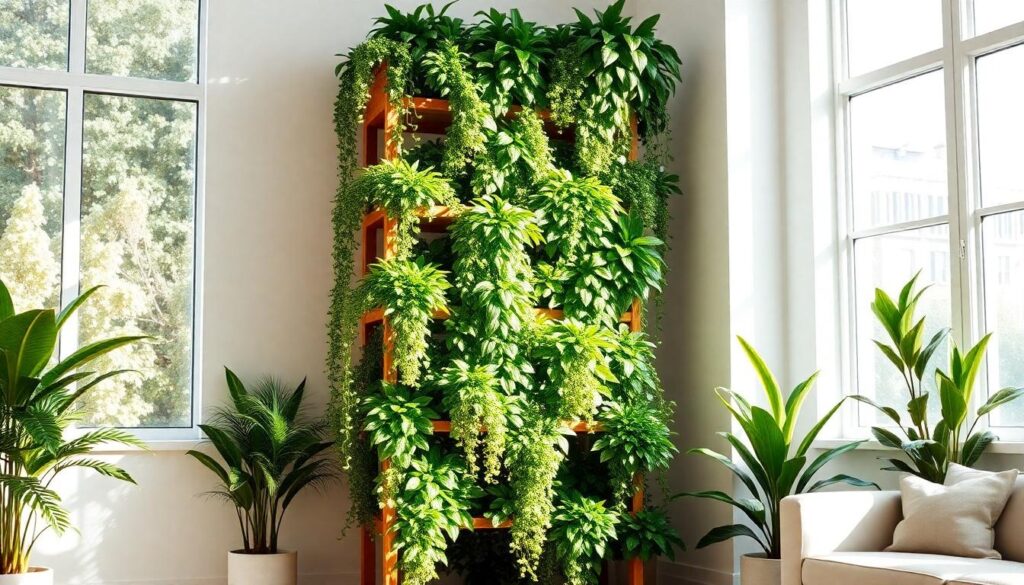
3. Try a Vertical Wooden Frame Garden
This was one of my favorite setups.
I used a wooden frame and attached small pots to it. It created a structured look and kept everything organized in one place.
4. Use Railing Planters for Balconies
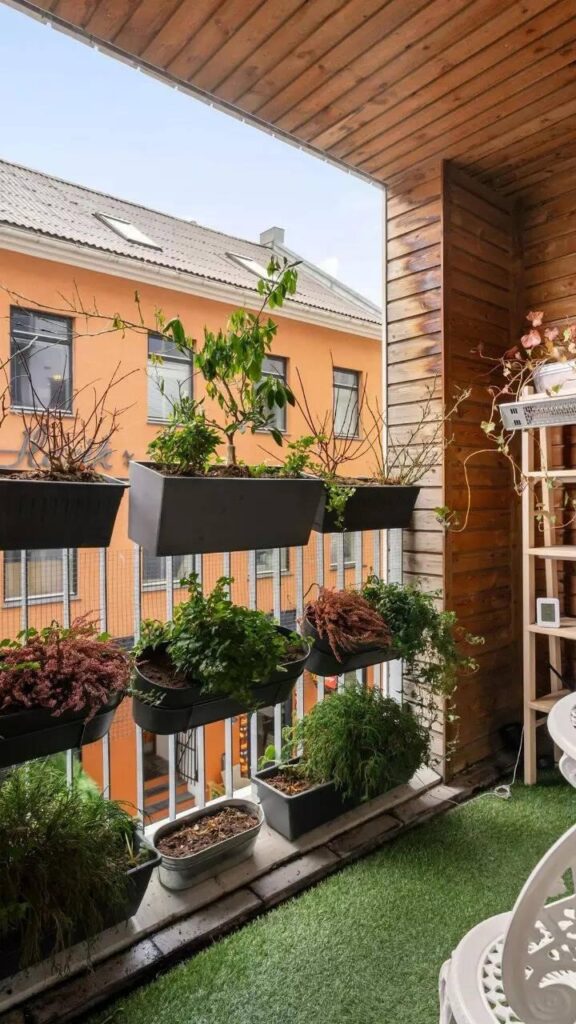
If you have a balcony, this is a must-try.
I added planters along the railing, which saved space and made the area feel greener without crowding it.
I used simple wall planters like this (Railing planters) and it saved a lot of space.
5. Create a DIY Bottle Garden
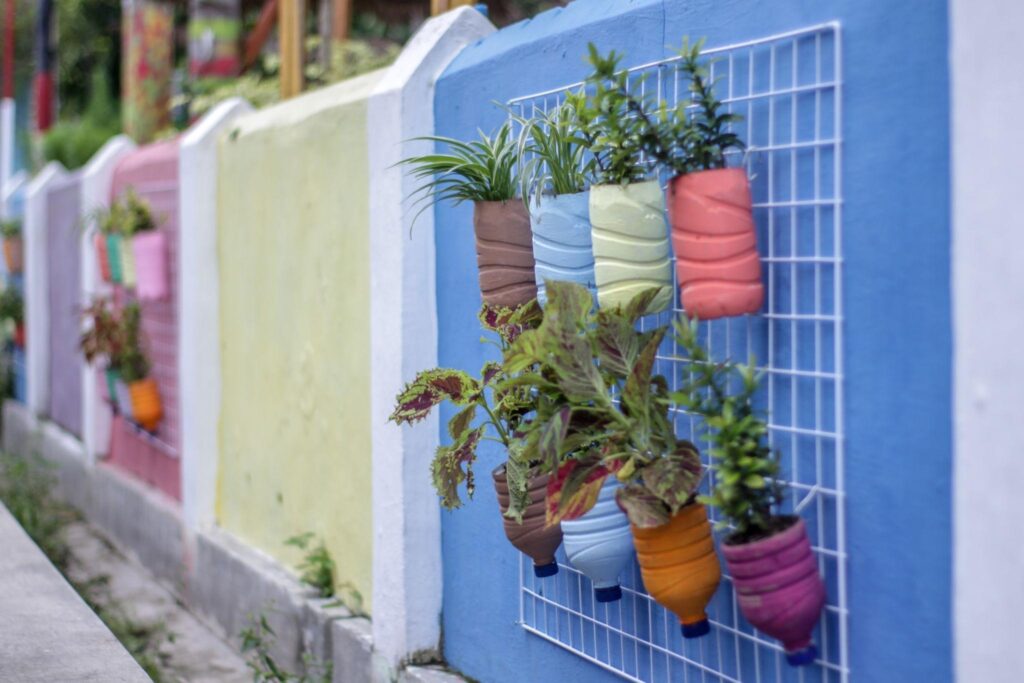
This is one of the most budget-friendly ideas.
I reused plastic bottles, cut them, and turned them into planters. It’s simple and surprisingly effective.
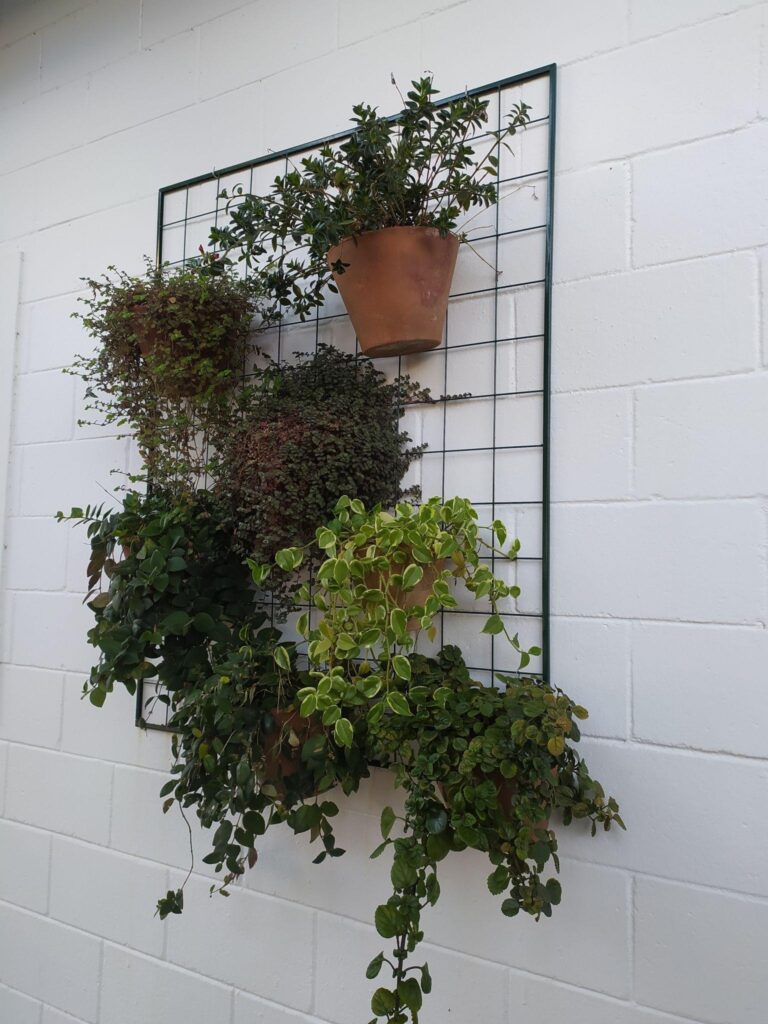
6. Install a Metal Grid for Climbing Plants
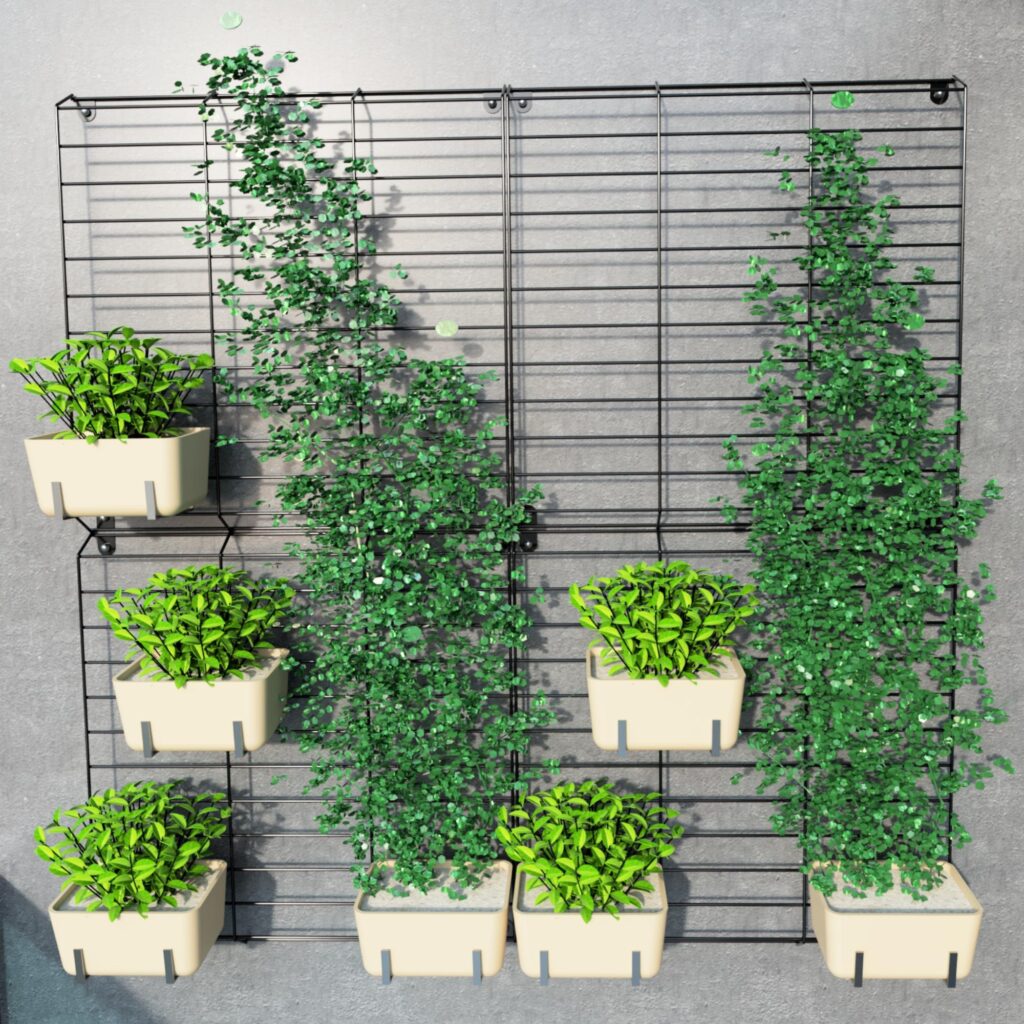
I installed a small metal grid on the wall.
Climbing plants naturally grow along it, which creates a beautiful vertical effect over time.
Hooks like these (wall hooks)made it easy to hang pots without drilling too much.
7. Use Ladder-Style Plant Stands
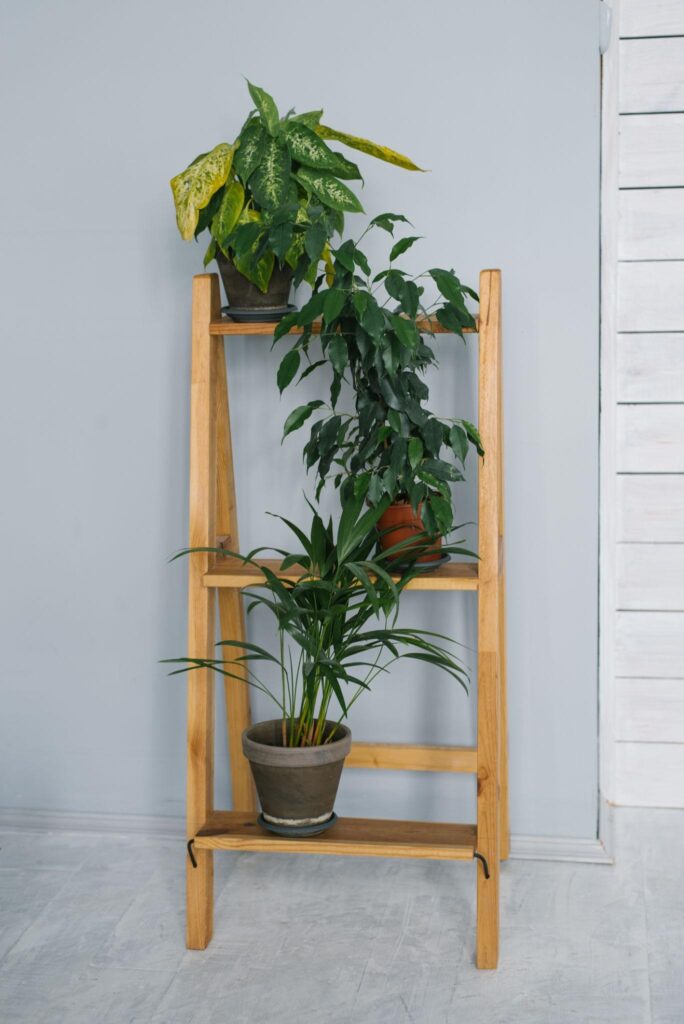
Instead of mounting everything, I tried a ladder-style stand.
It leans against the wall and gives multiple levels for plants. It’s easy to set up and move.
A plant stand like this helped me organize multiple plants neatly.
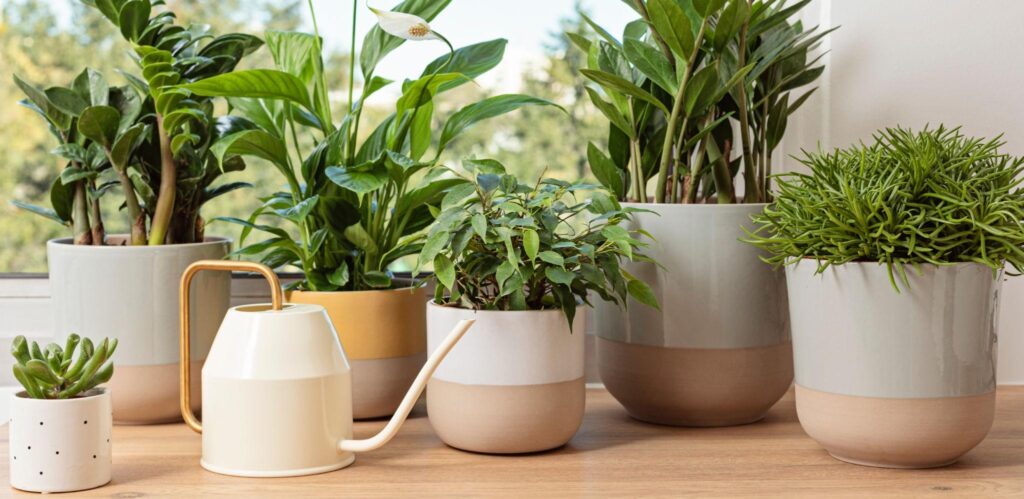
8. Add Wall-Mounted Shelves for Plants
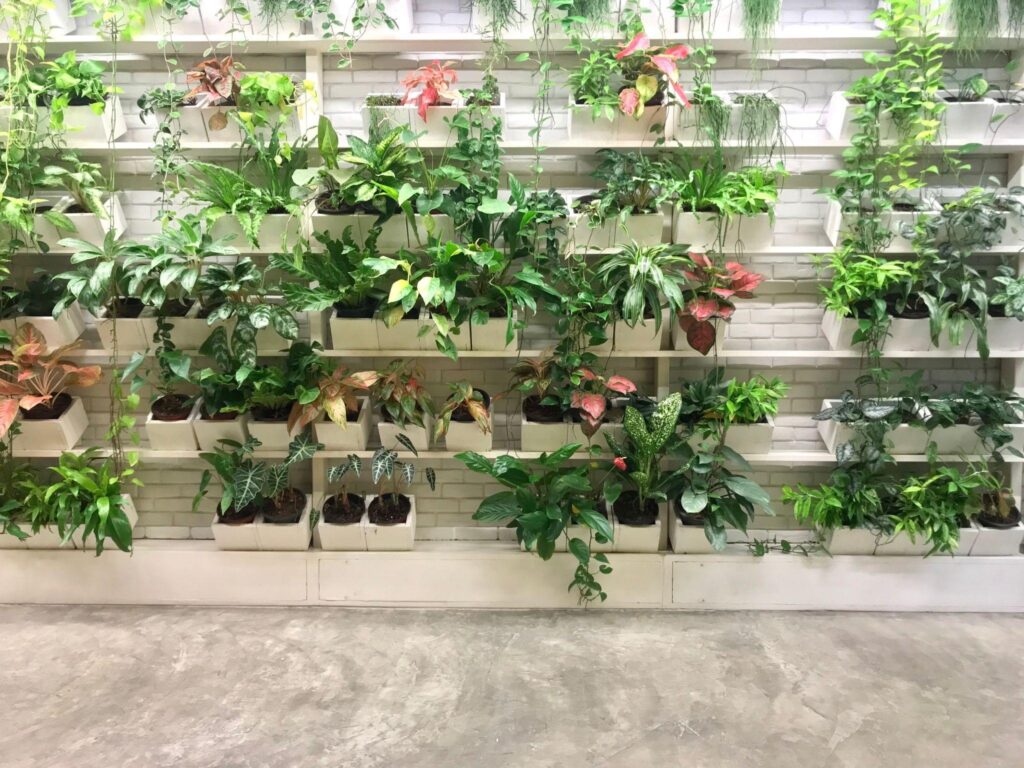
Wall shelves aren’t just for decor.
I used a few shelves to place plants at different heights. It helped create a layered look.
9. Try Pocket Fabric Planters
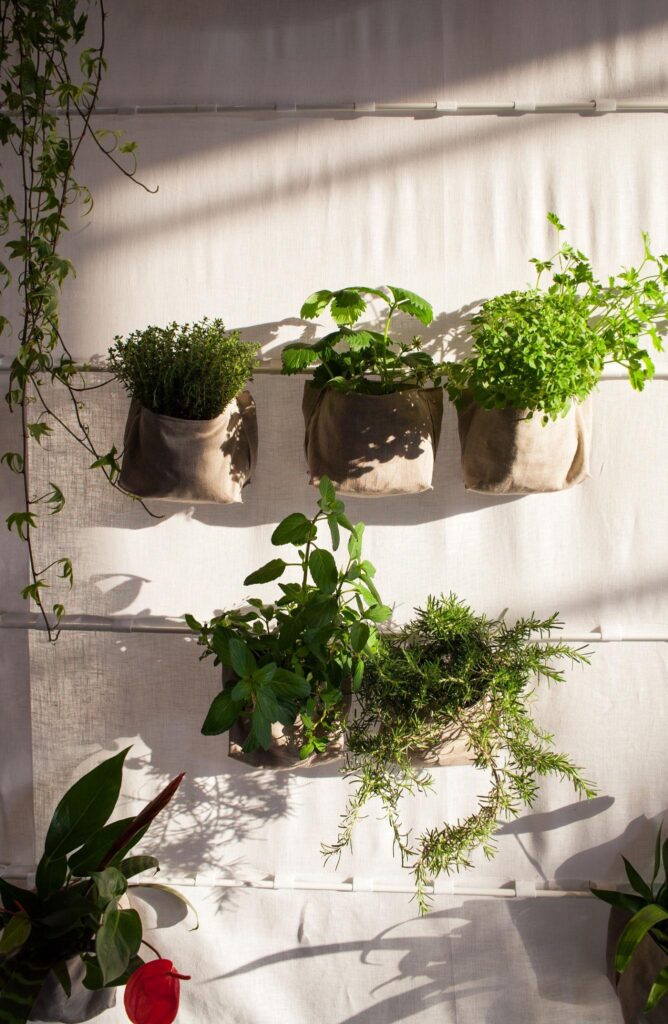
These are great for small spaces.
I used a fabric planter with multiple pockets. It allowed me to grow several small plants in one vertical setup.
10. Use Corner Vertical Setups
Corners are often unused.
I added a vertical stand in one corner, and it became a perfect spot for plants without taking up much room.
11. Combine Plants with Decor Elements
At one point, I only focused on plants.
But adding a few decor items made the setup look more balanced and visually appealing.
12. Keep It Light and Minimal
I learned not to overcrowd the space.
Keeping things simple made the garden look better and easier to maintain.
13. Maintain and Adjust Over Time
Vertical gardening isn’t a one-time setup.
I kept adjusting plant placement based on sunlight and growth. Small changes made a big difference.
Final Thoughts
For me, vertical gardening completely changed how I see small spaces.
Instead of thinking about limitations, I started using what I already had-my walls. And that made all the difference.
You don’t need a big setup. Just start small, try one idea, and build from there